Is slowly resuming. While the prints for my solo show lay here in my study all rolled up, ready to hang, I figured I'd share some tips on photoshop. This process is remarkably similar to a wet darkroom context, fwiw.
What all this really means is another of my photoshop workshops, is on the horizon.
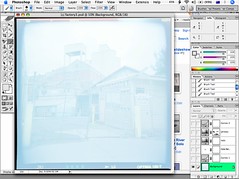
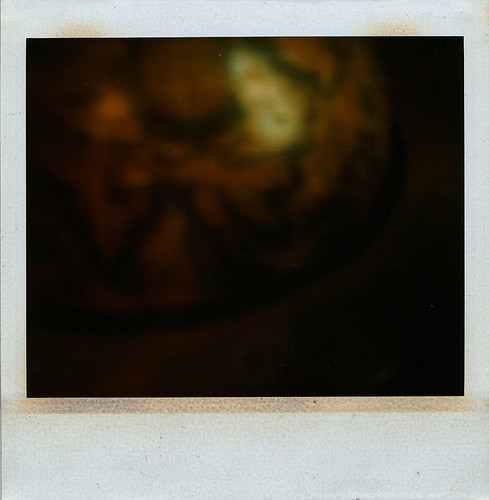
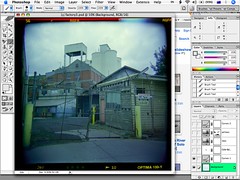
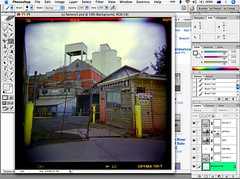
Here is the original 16 bit scan, unadjusted. [I prefer to adjust post scanning, not that Silverfast isn't a good scanning package, I just prefer to work at home, whereas the scanner is at work.]
This is obviously nowhere near the original photograph, in terms of colour, density, and contrast.
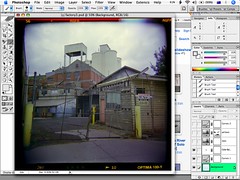
The first thing then is, adjust the available data to see what the image looks like. A small aside here, if I may, I will be editing in 16 bits to minimise loss of data throughout the process, as Photoshop is a pixel editing application, and it destroys pixels in the process of editing, I'm told in part because of something called a rounding error.
Anyway my first move is to examine then if needed, adjust the levels on the image.
A note here, I always adjust each channel individually, the red, the green, and the blue. I adjust by pulling the black sliders inwards and the white slider inwards, if there are gaps.
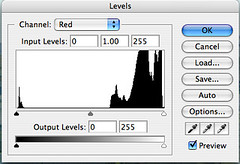
no gaps here?

no gaps here?
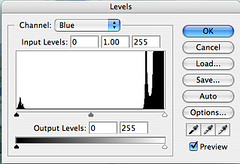
no gaps here?
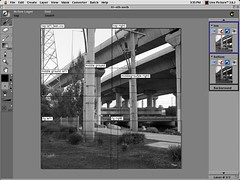
Interestingly enough, these histograms confirm the poor exposure I would expect from a camera such as a Holga. What to do then, as normally I would drag in these sliders hit OK and move on to the next part of the workflow.
Adjustment layers to the rescue.
By adding an adjustment layer to the mix I can now, non-destructively make modifications to my image.
In this instance I have used curves, to darken the image, particularly in the middle values.
All good and dandy, but it's got a ways to go yet. I can now see the image and start to think about how I want it to be perceived.
The image still seems a little cool?
Again I'l use an adjustment layer, this time colour balance.
The colours are cool, generally speaking, but I can tell without using the info palette and the eye dropper tool, this is a Cyan colour cast mainly in the mid-tones and highlights. A quick application of these adjustments and it's now starting to resemble a more realistic interpretation of the scene.
Note I'm not going to even begin to talk colour and it's emotional impact to this image.

Not only am I going to use an Adjustment Layer, but also, I am going to paint on that mask to reveal and hide at a local level the colours I want to emphasise.
The last stage of the basic adjustments.
Personally I want a little more punch to this image to add some more grunge to an overall post-punk kind of scene, so my last adjustment layer will be a curves layer and this time I'll simply pull the shadows in and the the highlights across by about one square, on a 10 square dialog, and bang the image is now ready for some serious contemplation and tweaking.
Technorati Tags: photography, photoshop, negative, colour correction, solo show